
Case Study: Beautiful Kitchen Refresh Using Our “Designer By Your Side” Service
I recently met with our client, Barbara, and her husband, John, a retired couple who were looking for help with their kitchen renovation. They live in the Florida panhandle and love the location of their home on the water. The home has great bones, but... this couple knew their dated 1990s kitchen needed updating.
Barbara had a lot of ideas for their new kitchen and wanted to do most of it herself, but she didn’t want to do it alone. She wanted a professional to bounce ideas off of, someone who could ensure she was making a wise investment and help her create a design that looks professionally done. She reached out to us to see if we could help.
Yes, we can — with our new Designer By Your Side service!

The prior owner had painted the home interior in Unusual Gray by Sherwin Williams. Despite its name, we kept it. We also needed to get rid of that distracting support beam...
Step 1. Consultation & Defining Project Scope
The first step in any of our projects is a consultation, where we’ll talk about the scope of your project, your goals, and how we can help. This kitchen renovation was no different.
To start, we knew that this project wouldn’t be a full gut, so we took inventory of the problems Barbara wanted to solve with this renovation:
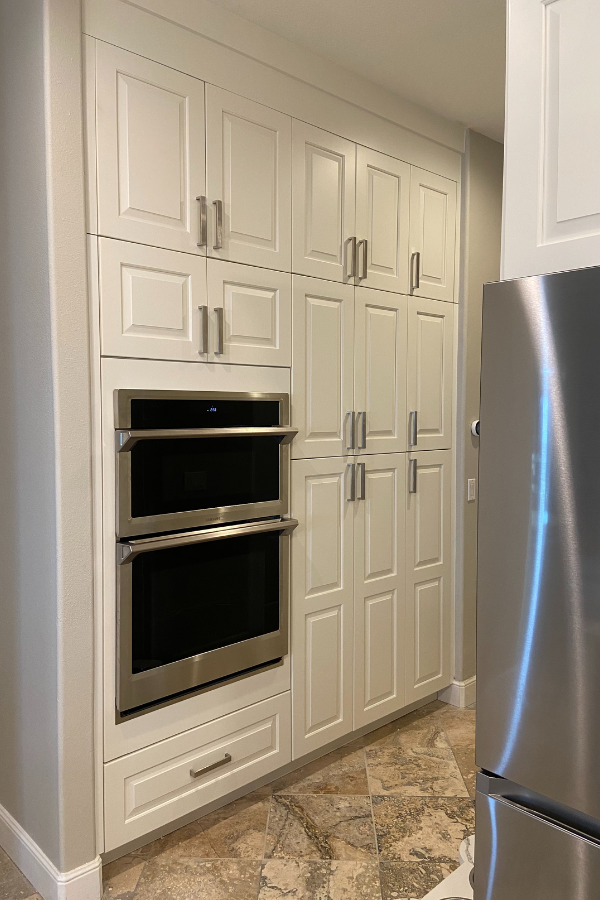
The cabinets were falling apart and needed to be replaced.
A distracting support column ran through the middle of the kitchen cabinets
Lacking storage in the pantry and kitchen
Missing a beverage bar for entertainment
Fluorescent overhead lighting needed to be replaced
Adding to our challenge, the kitchen was narrow and would require some planning to incorporate an island while still allowing enough space between the wall for a passageway and a cooking space in front of the cooktop.
We decided to keep the travertine flooring and the wall color. If you’ve been around awhile, you know I’m a big advocate for selecting the paint color last, but in this case, the color was used throughout the home, so we kept it.

Step 2. Kitchen Layout
Next up, I designed a new kitchen layout based on their wants and needs, the constraints of the narrow space, and everything else we had identified in Step 1. After receiving Barbara’s and John’s feedback, we continued to refine the design to fit with their chosen appliances. Once we were done, we had a fully-fledged map of their new kitchen and we were ready to help Barbara bring it to life.
Step 3. Selecting Materials
Our Designer By Your Side service continues with a full day spent together sourcing the materials you’ll love in your home. Barbara and I started at a cabinet showroom to select the door style and color for their kitchen. Next, we went to the slab yard and chose the countertop material. It was important that these finishes coordinated well with both the wall color and the travertine floor. Barbara had to make some huge design decisions, but she did so confidently with us by her side.
Barbara also had ideas about her sinks (beverage and kitchen), as well as the coordinating hardware. We worked together to consider the countertop selection with her hardware choices to make sure everything was cohesive. (Hardware choices can make or break a room, read how to choose the right hardware for your kitchen here.)
Our last stop was the tile showroom. Barbara selected an eye-catching tile for the area behind her hood that would be tiled up to the crown molding, and we selected a second special tile to create a focal point over the cooktop. Because we were adding a beverage bar, we also found compatible tiles for that area as well (which you will see in just a minute).

Barbara chose her own pendant lighting for over the kitchen island, as well as her cabinet hardware, but because she had a “Designer By Her Side,” she was able to ask for my input on style and scale before ordering either of these items.

Step 4. Addressing Design Challenges
Good news – we were able to take out that distracting support beam! With the input of a structural engineer, we added a well-placed LVL beam in the ceiling. The sightlines (seen above) are now open and clear, just how Barbara wanted. We also changed out the fluorescent lighting based on what Barbara chose using our Designer By Your Side service.
We also increased storage everywhere. The pantry was enlarged, and we used our cabinetry expertise to give the couple groups of cabinets with drawers instead of doors on the lower cabinets. Much more functional. Storage was also added when we created the beverage bar...

We specified the same tile for the beverage bar, and this is the perfect view to see how it all coordinates with the wall color, travertine, and their new and exciting amenities… like this wine fridge!
Barbara said, “I loved the hunt for these items, but wanted input before ordering.” She got it.
Step 5. Designer By Your Side Results
After the renovation, Barbara is excited to be cooking in her own new kitchen. She loved getting to visit the showrooms and get hands-on experience working with a designer to choose her materials. She said we made it so easy for her to make those big design decisions. Barbara was able to enjoy the design process without all the overwhelm (and regret) most homeowners typically experience.
And here it is in its finished glory...

Transformed! Would you like to set up a shopping day to plan and assist with your next project? We can do that with our Designer By Your Side service — just reach out to us and let’s get to know each other!
Warmly,
Sarah