
The Story of Tile Installation Gone Wrong (With a Happy Ending)
One of the most significant line items for a bathroom renovation with a fully tiled shower is the cost of building the shower and installing the tile. It will be tempting to want to save money on the install by hiring an installer who will do the job for less and use less expensive materials… but is the savings worth it?
Today, I’m sharing a story of clients who went the less expensive route. Let’s just say their budget renovation results went sideways, and their existing shower needed help. Keep reading to discover how we transformed their bathroom, along with which mistakes you can avoid during your next tiling endeavor...
Bathroom Tile Gone Wrong
Our clients contacted us about their master bathroom, specifically about the tile work in the shower. The bathroom was remodeled about 10 years ago (not by us!), and they were experiencing problems and wanted our help with a resolution.
Problem Areas:

The grout between the tiles on the floor was coming out in chunks. That meant that the tiles would lift and move as they walked across the room.
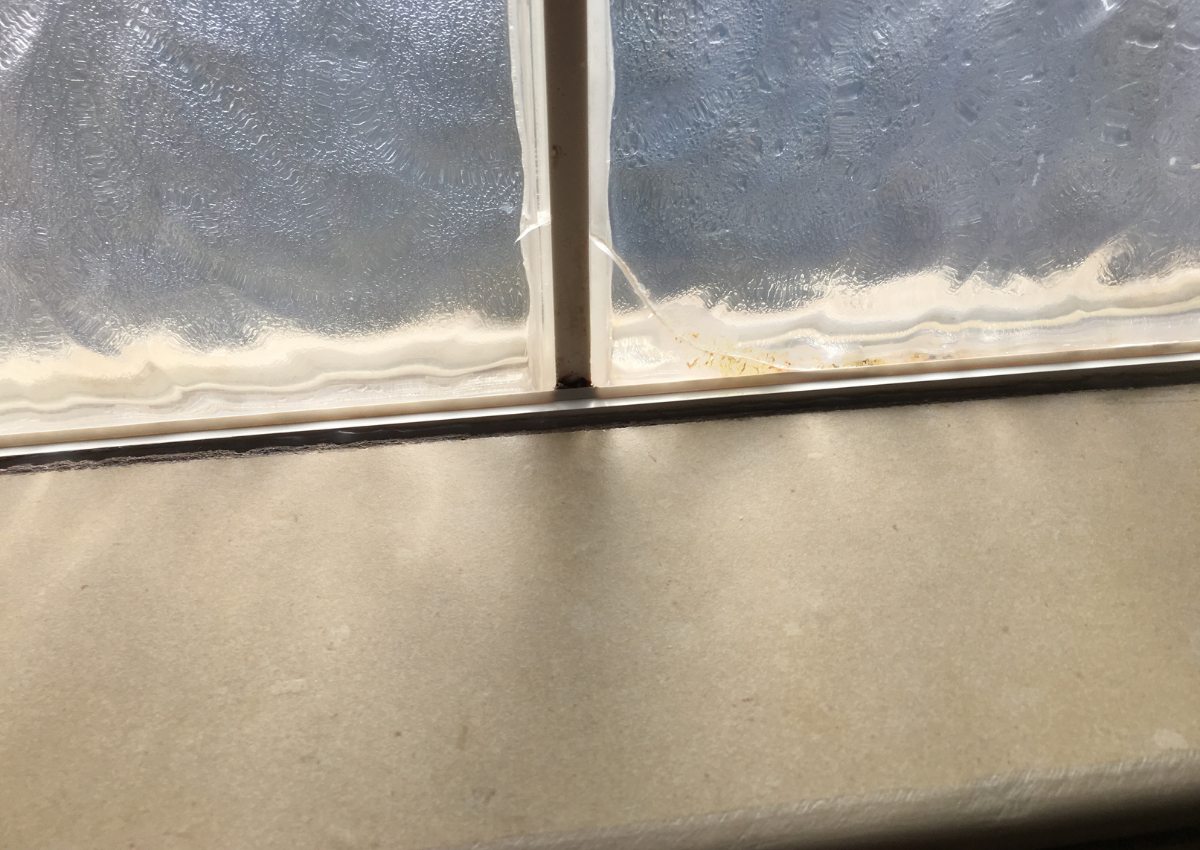
The window in the shower area had been removed and replaced with architectural glass-like blocks. Unfortunately, they were cracking due to the heat from the sun. We discovered that the tiles used were actually interior grade — no wonder they did not withstand the elements of exterior exposure!

The tile work inside the shower had not aged well either. There were rough areas in the shower and other places that the grout had fallen out. In addition, we could see where there was extra grout (due to a poor cut) that left gaps and uneven spacing. And to top it all off, the wall tiles near the base of the shower were starting to come off. This bathroom needed some major help!
Design Goals
1. Work with the Tuscan-Inspired Color Palette
Our client decided that along with fixing all the obvious tile issues, they wanted to remove all the travertine and update the colors for the bathroom. It takes planning to blend the Tuscan colors of the ‘90s with today’s more linen and gray-toned colors, but it can be done! (Read here for How to Bring Tuscan-inspired Interiors into this Decade.)
2. Make the Bathroom Feel Cohesive with the Bedroom
I had also helped these clients with new bedding, draperies, and fresh paint in their connected bedroom last year, so there was a bit of a disconnect between the two rooms. We wanted the two to feel like the same house.
3. Keep the Fixed Elements that were in Good Shape
We wanted to keep the vanities, the countertops, and the other built-in cabinetry, as there was nothing functionally wrong with these items. So we needed to work them into the design.
Project Plan
Remove all floor tile and level out the floor
Remove the shower and add new tile, a bench, and waterproof the shower pan
Replace the window blocks with a smaller transom window
Add in an open bench seat, an enlarged niche, with a new layout for all elements
Paint with fresh color
Reinstall all of the fixtures
The Tile Project Begins
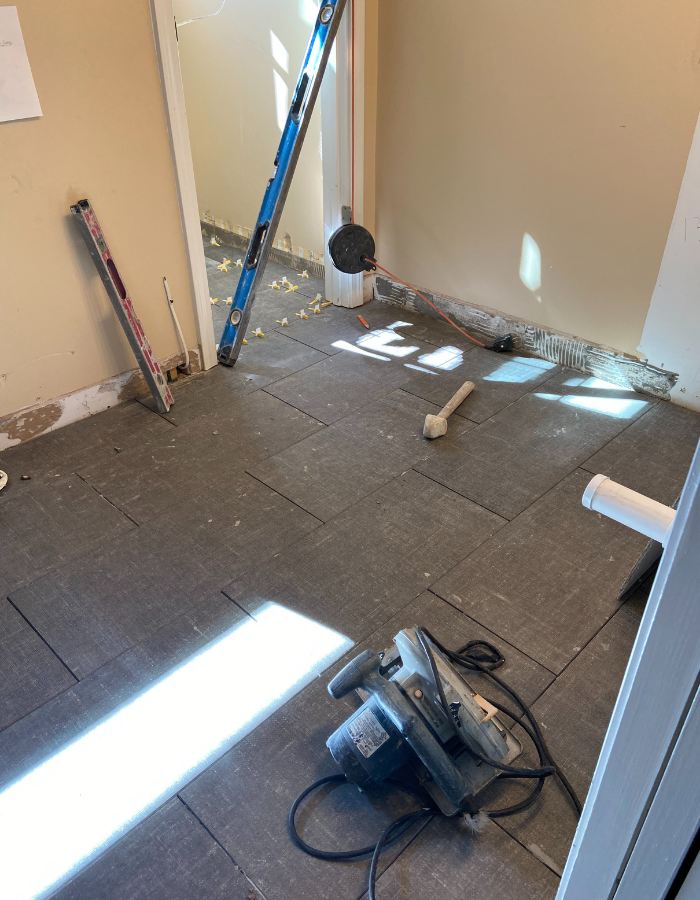
We removed the old floor, and after the floor was leveled, we added a heated floor system. This was the perfect time to do this!

We chose tile for the floor, shower floor, shower walls, and a fantastic accent feature. The block of granite is the San Cecelia from the countertops. The tiles were our starting point for the colors of the room.
A Tile Transformation

Ta-da! The added wall space allowed us to create a focal point with a beautiful accent tile in a herringbone pattern. The shower, centered in the bathroom and the window wall, is what you see first upon entering the room.
Other finishing touches included fresh paint in an updated color, new towel bars, and hooks. We also swapped out the plate mirrors for framed mirrors. And how unique is the new transom window we installed? This window allowed daylight to still come into the shower, but there is a great deal more privacy than before.
Our clients are thrilled with the result, happy to use their new space each day, and no longer stubbing their toes on loose tiles and grout. Success!
Tile Installation Recommendations
Are you planning on doing any tile work? Maybe you’re thinking of going the DIY route. Here are my top 3 recommendations…and these apply to just about any home renovation project:
Tip 1. Check References
Check references and talk to other people who have had tile work done. You could also ask for recommendations from your trusted contractor team. Chances are they work with tile installers often and know someone who does a great job.
Steve and I have built our business on many repeat and referral clients. We truly strive to have the best outcome for every person we work with. And for us, that means working with the best tradespeople. Our tile setters are not the cheapest, but they are the best.
Tip 2. Skillset, experience, and examples of work
When you are dealing with a wet area, like a shower, do not skimp on labor. With labor in a damp area, you truly get what you pay for. Therefore, your installer must use the correct preparation and quality workmanship for the installation.
Why would you want to skimp on an area that you will use daily? You are spending money and taking time to create a beautiful space. Longevity and quality are necessary for you to enjoy your renovation for many years to come.
Tip 3. Be patient
In today’s market, a talented installer is going to be busy. So get on the calendar and wait for the best. It will be worth it.
So, what do you think? Is saving money by cutting corners and skimping on labor worth it? We say “nope!” In our experience, it’s better to pay more to get the job done right, or you will end up spending money and time again down the road.
If you have an area in need of updating, we’d love to help you with your next renovation. Let’s chat and see if we’re the right team for you.
Warmly,
Sarah