
The 1940s Fixer Upper: Changing up the Floor Plan
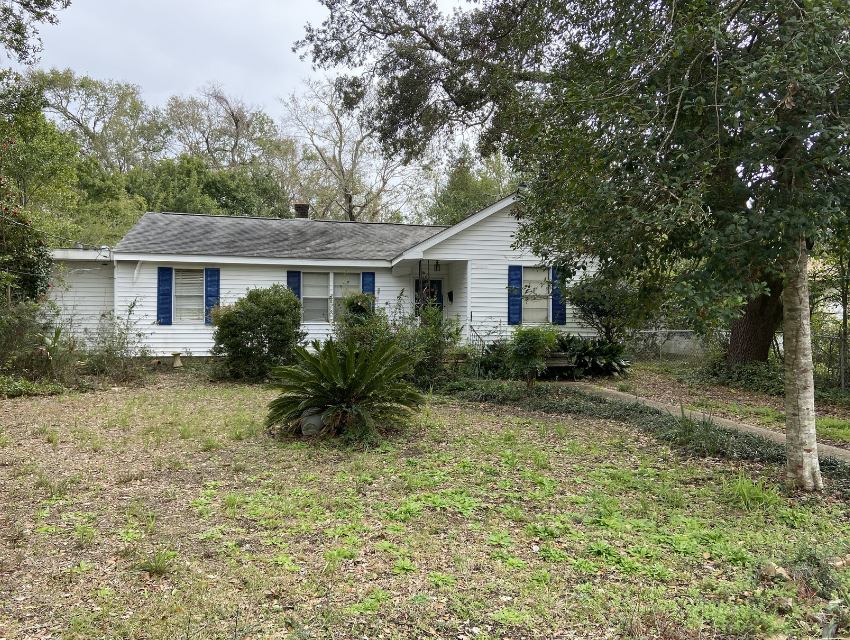
A few weeks ago, I shared all about Demo Day for our 1940s Fixer Upper and how we peeled through layers of horror to get to the bones of the house. It was only once we made it down to the studs that we could then begin to create a floor plan suitable for our home’s ideal buyers: a busy family.
When we first saw this house, we instantly envisioned its potential and knew that we would want to sell it to a family who would appreciate and enjoy an old home filled with new life. Understanding our demographic and the market shaped our goals for the project, especially our updates to the floor plan.
Today, I’m sharing our process for creating a floor plan, along with the specific updates we will be making to create a family-friendly home…
Step 1: Identify the existing floor plan’s problem areas
The first step was to identify the problems with the existing floor plan. We asked ourselves questions like:
Are there areas that are too small?
Are there any unused areas taking up space for no reason?
How is access to the kitchen and bathrooms achieved?
What is the overall flow of the house?
Here’s a look at the initial floor plan:

Problem #1: Too Compartmentalized
As far as we could tell, the original owners had added to the house three times, but we concluded that the floor plan was too compartmentalized (which is typical of older homes), making it dark and lacking in easy flow.
Problem #2: Hall Bathroom Located Through a Bedroom
Another problem area we discovered was that the former living room had been converted to a bedroom. This meant that anyone coming from the living room or kitchen who wanted to use the hall bath had to go through that bedroom. Not ideal!
Problem #3: Too-Small Master Bedroom & BathrooM
The size of the previous master bedroom and bathroom were not going to impress anyone. The master bedroom needed better closet space and a more reasonably sized bathroom. The master bathroom, which looks like it was an addition, was super small by today’s standards!
Step 2: Identify goals & solutions
After identifying the problems, we needed to come up with solutions for each…
Solution #1: Create an Open floor plan
This 70+ year old home had housed many family memories, and we knew that by adding an open, naturally flowing floor plan, a new family could enjoy modern living with a touch of history. The new floor plan would need to include enlarged bathrooms, added closets, and a kitchen that would serve as an area for both meal prep and entertaining.
Solution #2: Create a central hall bathroom
In order to make the hall bathroom actually off of a hallway, we would have to add one! Our challenge was to remove the old furnace chimney that ran up through the center of the house. Once we removed the chimney, we would be able to create that central hall. No more going through the front bedroom to get to the bathroom!

We created a central hall to have a better flow to the bathroom.
Solution #3: Borrow space from the adjoining rooms
The master bathroom had a small shower, a single sink, and a toilet all in one tiny room. For modern-day living, we wanted a double vanity and a larger bathing area, but we knew we would need the extra space to do it. After looking at the floor plan, we decided the extra space would need to come from the adjoining rooms.

A view of what was behind the master shower.
Step 3: Make a plan
Next, it was time to map out our solutions on paper and finalize the floor plan changes. When we create new floor plans, we often go through several iterations before landing on the version that is just right. This is a difficult process to explain, but with our decades of experience, we can look at all of the angles, from a living experience standpoint and from a construction standpoint, and land on the final version effortlessly.
Floor Plan Before:

Floor Plan After:

Much better! Some of the major changes you can see in the new floor plan include:
Increased openness and flow
Walls removed to open up the kitchen, and kitchen repositioned
Larger master bathroom
That central hallway I mentioned for easy flow of traffic to the central bathroom
Determining a new floor plan also includes looking at possible furniture arrangements. We loved the brick fireplace, but didn’t love where it was positioned in the room. We tried several furniture arrangements in our software but kept coming back to the idea that it would be better to remove the fireplace…
Steve and I talked about it, and the next day Steve called me from the house and said it was gone and the room looked better already! Furniture arrangement solved.

The fireplace after demo day.
There you have it — a new floor plan and a lot of work to come. That’s it for this month, but stay tuned for more Fixer Upper updates as we make progress. There are sure to be a few more twists and turns as we breathe new life into this charming old house.
In the meantime, give us a call if you are ready to renovate your home! We’d love to help you design a floor plan that suits you and your family OR one that will make a splash in the market.
Warmly,
Sarah